Hawaii Energy Bars without marshmallows cut in rectangles

Hawaii Energy Bar (no marshmallows)

The Hawaii Energy Bar was the little snack wrapped in wax paper that I loved receiving during snack time from friends and family but that my parents did not know how to make. It was fresh, tasty, crunchy, and sweet, making it hard to eat just one. The energy bar felt like the “healthy” version of a rice crispy treat. Everyone was excited when someone’s mom or grandma made energy bars.

What makes these bars so great?

Hawaii Energy Bar without marshmallows unwrapped

These are great for picnics, camping, and sharing. To make them safe to take to nut-free schools, use sunflower butter and pumpkin seeds. They are especially refreshing during the summer – after wrapping them in wax paper place the entire bunch in a Ziploc-type bag and pop them into the freezer. You can eat them straight out of the freezer for a cold and crunchy treat.


This recipe also helps you to use up whatever dried fruit, nuts, and cereal you have in your pantry that you bought for a single recipe a while ago. Cereal often doesn’t get eaten after the first few breakfasts, so you can easily swap the rice cereal for other types of plain cereal that is low in sugar.

This recipe gives you more protein with an extra ½ cup of peanut butter. It will keep you fuller longer and it might help you stretch out this batch of bars longer than the traditional version made with marshmallows. Watch the type of dried fruit that you add and where possible get ones without added sugar. But don’t fret if you use cranberries because I often add these to my recipes because they taste so good! Food should be nutritious and flavorful, or no one is going to eat it!

Hawaii Energy Bars without marshmallows are possible

I wanted to minimize my family’s consumption of marshmallows since packaged Rice Krispie Treats are easily available everywhere and are often a go-to snack to add to the sports and school snack gift bags from other families. It was also hard to coach my son to better behavior when he was pumped up on treats with lots of sugar in it.

This recipe is a great middle ground to give him a treat without hyping up his energy to where he had difficulty listening. The hard part about this was getting the bars to stick together and stay stuck! The marshmallow was the glue that kept the Hawaii Energy Bar together without fail or much effort.


The key is to press the mixture down into the baking pan with all of your might! If you press softly or use a tool like a cup or a spoon, you will not use enough force to really compress all the ingredients together and it just won’t stick. Try this version and let me know what you think in the comments below!

Find more healthy-ish and tasty snack recipes to inspire your home cooking here:

creamy cranberry chicken salad as a sandwich
Creamy Cranberry Chicken Salad
quick and easy cottage cheese kimchi dip on a potato chip
Quick and Easy Cottage Cheese Kimchi Dip
Pomegranate and chocolate yogurt bark square resized
Pomegranate and Chocolate Yogurt Bark
Hawaii Energy Bars without marshmallows cut in rectangles

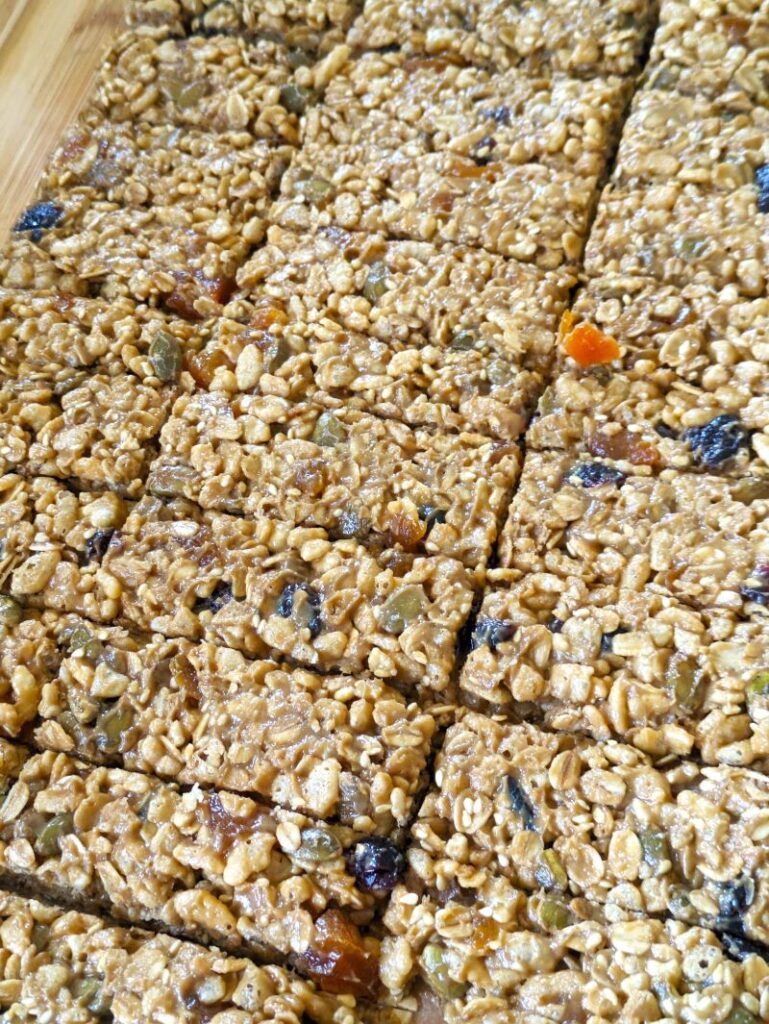
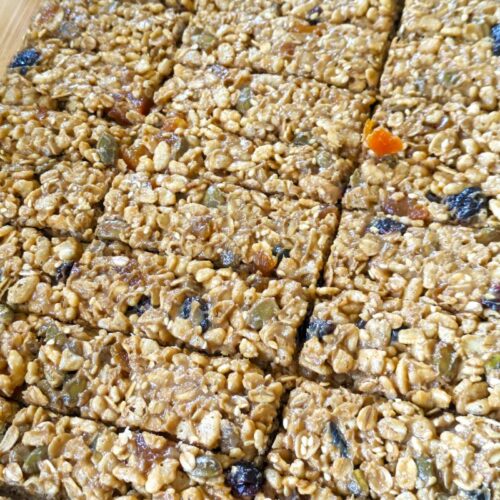
Hawaii Energy Bars (no marshmallow)

Katherine Park
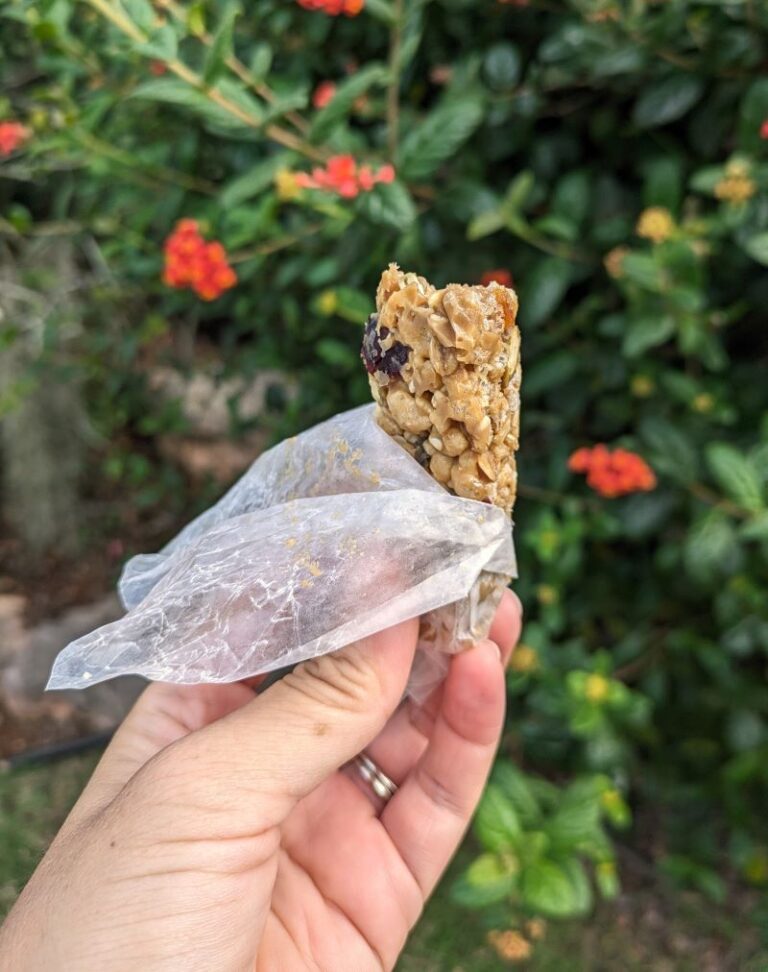
Fun memories with family happen when you make these Hawaii Energy Bars.
Prep Time 10 minutes
Cook Time 5 minutes
Cooling Time 30 minutes
Total Time 45 minutes
Course Dessert, Snack
Cuisine American, Local Hawaii Food
Servings 30

Equipment

  • 1 9" x 13" baking pan
  • parchment paper
  • 1 5 Quart pan or 11" chicken fryer
  • 1 medium pot
  • 1 large cutting board
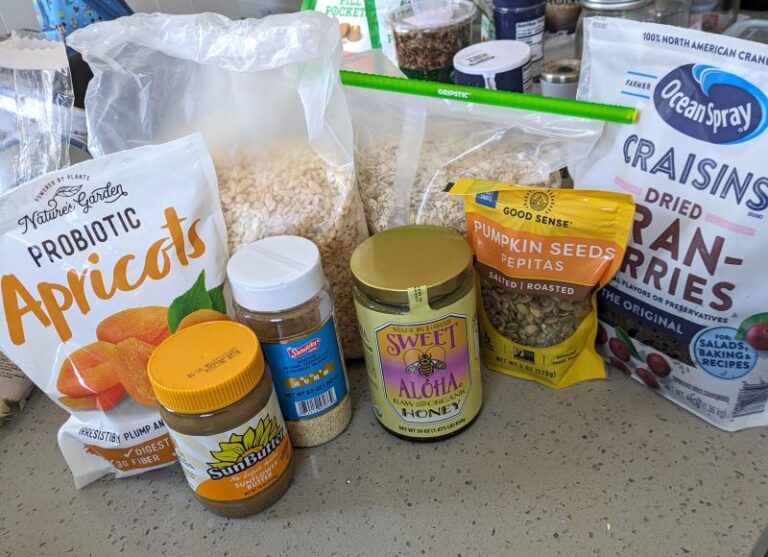
Ingredients
  

  • canola oil spray
  • 1 cup unsweetened peanut butter
  • ½ cup honey
  • ¼ cup unsalted butter (½ of one stick)
  • 2 ½ cups crisp rice cereal
  • 1 cup old-fashioned rolled oats
  • ¾ cup sesame seeds (or flax seeds, sunflower seeds, pumpkin seeds)
  • ¼ cup pumpkin seeds (or walnuts, peanuts, sunflower seeds)
  • 1 cup dried apricots (or raisins, cranberries, mangoes) chopped

Instructions
 

  • Line baking pan with parchment paper and lightly grease with canola spray. You will have a hard time getting the bars out of the pan without it.
  • In a medium pot, add peanut butter, honey, and butter and melt on low heat. Stir until well combined. Keep warm on low heat, stirring occasionally.
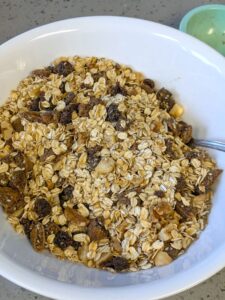
  • In a large saute pan or fryer pan, combine rice cereal, oats, sesame seeds, and pumpkin seeds or nuts and toast over medium high heat for about 5 minutes.
  • Pour peanut butter mixture onto cereal mixture and add dried fruit. Stir until well combined and everything is coated with the peanut butter mixture.
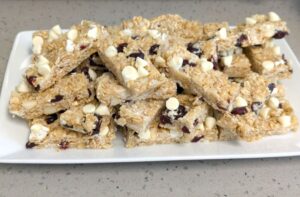
  • Press everything firmly into the prepared baking pan using parchment paper so your hands don’t get sticky. Cool and cut into bars. (If you have the patience, put them in the fridge once they are cool before cutting; they’ll harden up more and won’t fall apart so much as when they are at room temperature.) Wrap in wax paper for sharing (optional).

Notes

Tips and Tricks
Can I use quick-cooking oats?
Yes, quick-cooking oats can be swapped for the old-fashioned oats. Since the oats don’t cook for very long and you’re not adding moisture to it, there isn’t too much difference in the texture of the final bar.
What other sweetener can I use?
I haven’t tried it with other sweeteners. Maple syrup is a close option, but your bar may not hold together well because maple syrup has more moisture and stays in a liquid form in the fridge where honey will firm up in the cold. I suggest putting the pan with the bar mixture in the fridge or even the freezer so it can firm up before you cut it.
How long does this last in the freezer? What about the fridge?
These bars stay fresh in the fridge for 7 to 10 days. They keep very nicely in the freezer for 3 to 4 months depending on how they are stored (e.g., individually wrapped, freezer bag, etc.)
Keyword cereal, dessert, dried fruit, easy recipe, energy bar, nuts, oats, peanut butter
Scroll to Top
Verified by MonsterInsights